
It was a very long time ago when I rehashed an article on the actual configuration of NetScalers for use with AppSense servers, but having done this myself recently, it is clear to me that some updating is required, as there’s a lot more to it than simply configuring the NetScaler correctly! So as happens with some articles from time to time, let’s tidy it up and add in all of the extra details we’ve discovered.
It’s worth noting at first that your NetScaler (or other device, F5 also springs to mind as a popular choice) doesn’t specifically need to be configured for load balancing – they can also simply be configured for HA and failover.
NetScaler configuration
First you will need to configure the NetScaler device itself (whether this is a hardware appliance or the NetScaler VPX, the steps should be the same).
Virtual server (vserver). A vserver is an entity that is represented using an IP address, a port, and protocol. The VIP is the vserver IP address. This is what your agents will connect to and is usually attached to an FQDN in DNS. The client sends connection requests to this IP address. The vserver represents a collection of AppSense Management Servers.
Service. The service is a group of AppSense Management Servers represented using IP addresses, a port, and protocol. The services are bound to the vservers.
Server Object. A server object is an individual AppSense Management Server.
Monitor. A monitor is an entity that tracks the health of the services. The system periodically probes the servers using the monitor bound to each service. If a server does not respond within a configured response timeout, and the configured number of probes fail, the service is marked down. The system then performs load balancing among the remaining services.
Persistence. You can specify persistence for a group of vservers, this will ensure that a client is always directed to the same AppSense Management Server. When the configured time for persistence elapses, any vserver in the group is selected for the incoming client requests.
To configure Load Balancing of AppSense Management Servers, you must first create the servers and services. Then, you must create vservers and bind the services to the vservers.
To configure a Citrix NetScaler to load balance multiple AppSense Management Center servers you must follow the steps below (replace the IP addresses with ones appropriate to your organization):
1. Create a monitor
add lb mon monitor-ams-1 HTTP
2. Create servers
add server AMS-1 10.20.30.11
add server AMS-2 10.20.30.12
3. Create services
add service Service-AMS-HTTP-1 AMS-1 HTTP 80
add service Service-AMS-HTTP-2 AMS-2 HTTP 80
4. Bind the monitor to the services
bind mon monitor-ams-1 Service-AMS-HTTP-1
bind mon monitor-ams-1 Service-AMS-HTTP-2
5. Create virtual server
add lb vserver Vserver-AMS HTTP 10.20.30.10 80
6. Bind the services to the virtual server
bind lb vserver Vserver-AMS Service-AMS-HTTP-1
bind lb vserver Vserver-AMS Service-AMS-HTTP-2
7. Select persistency for the virtual server
set lb vserver Vserver-AMS -persistenceType COOKIEINSERT
DNS Configuration
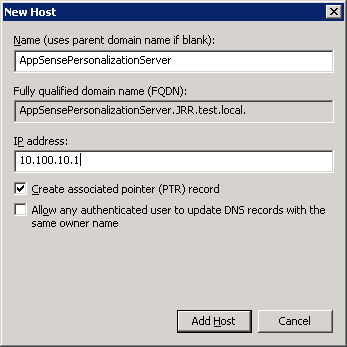
You will need to ensure that the appropriate URLs are set up in DNS to point to the NetScaler VIPs, as in the example below
AppSensePersonalizationServer.jrr.test.local 10.100.10.1
AppSenseManagementServer.jrr.test.local 10.100.10.2
Service Account Configuration
Best practice dictates that we should have an AppSense Load Balancing service account as well as a CCA account, a Configuration account and a base Service account.
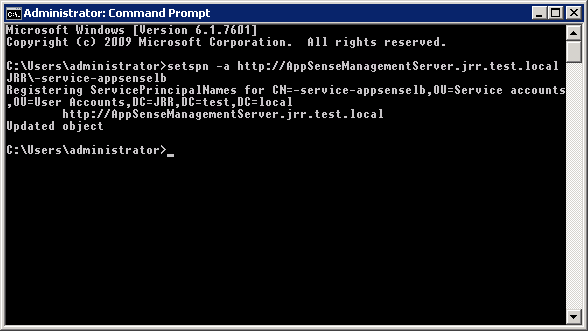
The AppSense Load Balancing account will need to be trusted for delegation to any service, but first you will need to set a Service Principal Name (SPN). You can do this with the following command from an elevated command prompt (obviously changing your account names and web addresses as necessary)
setspn -s http/AppSenseManagementServer.jrr.test.local JRR\-service-appsenselb
which should show an output something like this
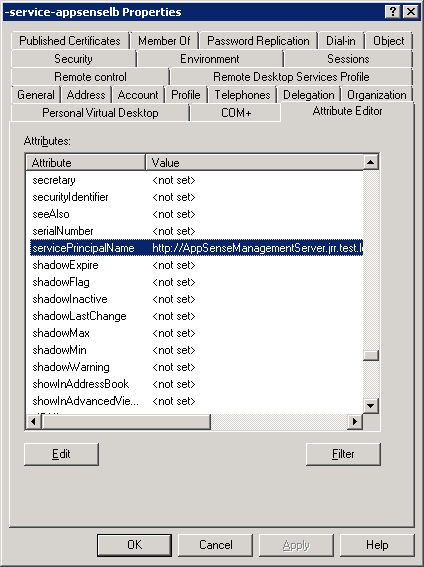
Now, if you look in the Attribute Editor tab (assuming your AD is at the required functional level to have this feature, otherwise you may need to fire up adsiedit.msc) you should see the SPN set
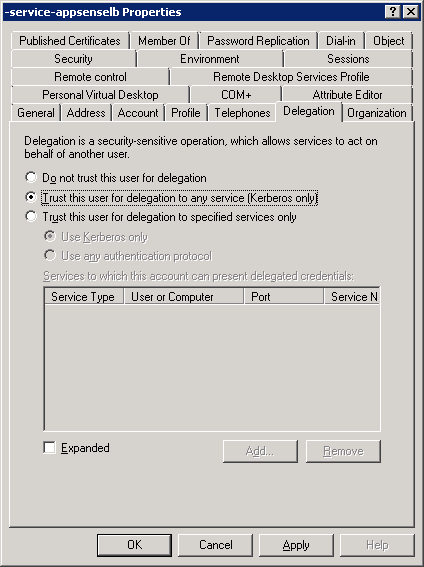
and once you have set the SPN, you can now access the Delegation tab for the user account, and you can trust it for delegation to any service as below
Management Server/Personalization Server Configuration
To configure the Management Server or Personalization Server itself for NetScaler integration, check the following option:-
(Note – there are some slight differences between the Management Server and Personalization Server, notably the names of the application pools. For the purposes of this document, I’ve assumed that the system is a dual Management Server/Personalization Server. If you have the roles separated, you will need to repeat the steps on each but bear in mind that some may be slightly different dependent on the role)
Check that the service account that will run your Management/Personalization Server application pools is a member of the following groups locally on the Management/Personalization Server(s)
Administrators
IIS_IUSRS (Server 2008+)
IIS_WPG (Server 2003)
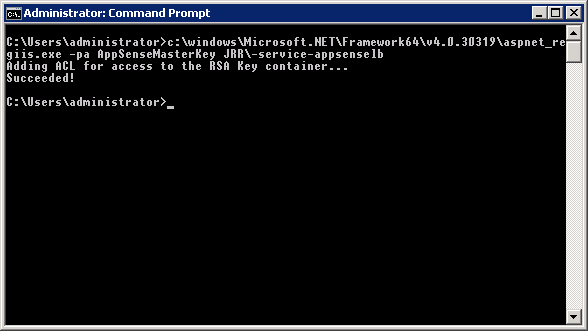
Register the application pool service account credentials with ASP.NET using aspnet_regiis by running the following commands (assuming 4.0.30319 is the latest installed .NET version)
c:\windows\Microsoft.NET\Framework\v4.0.30319\aspnet_regiis.exe -pa AppSenseMasterKey domain\username
c:\windows\Microsoft.NET\Framework64\v4.0.30319\aspnet_regiis.exe -pa AppSenseMasterKey domain\username
which should provide output something like this
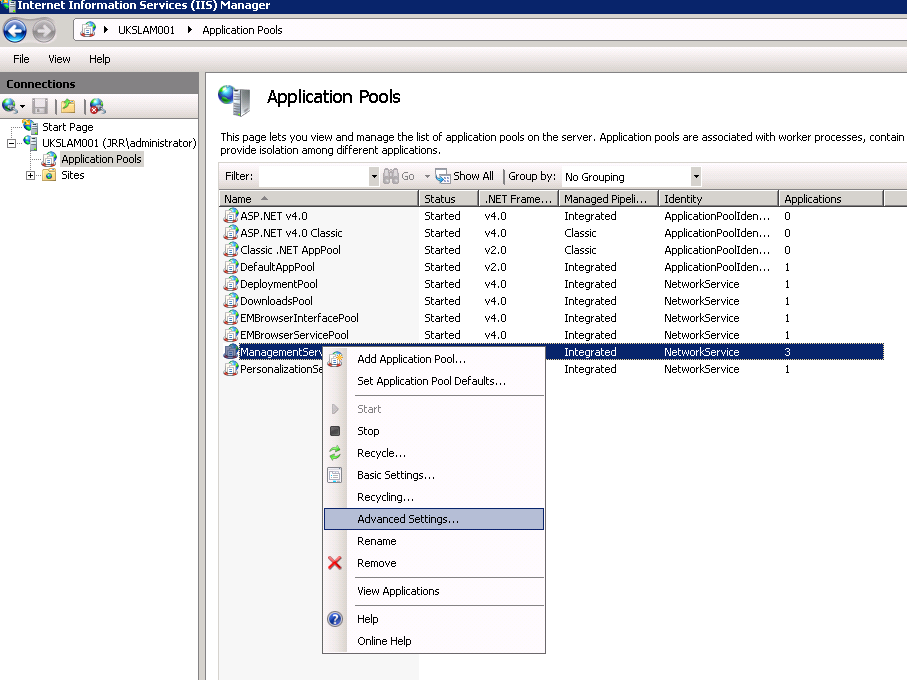
Check that the application pools are set to use the correct service account by running IIS Management | ServerName | Application Pools
Right-click on all of the required application pools (DeploymentPool, DownloadsPool, ManagementServerPool, PersonalizationServerPool, EMBrowserInterfaceTool (if installed), EMBrowserServicePool (if installed) and choose Advanced Settings
Find the Identity tab under Process Model
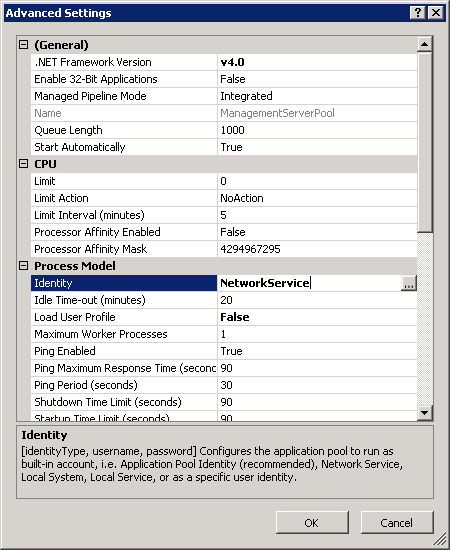
Click on the Browse button, and switch the options to Custom Account, before clicking the Set button and filling in the required account details for your chosen service account
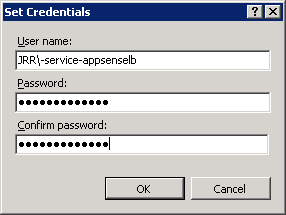
Repeat this for all of the Deployment Pools required.
Open the Management Server/Personalization Server/EMBrowserInterface website(s) (as required) in IIS Management and double-click on Configuration Editor under Management
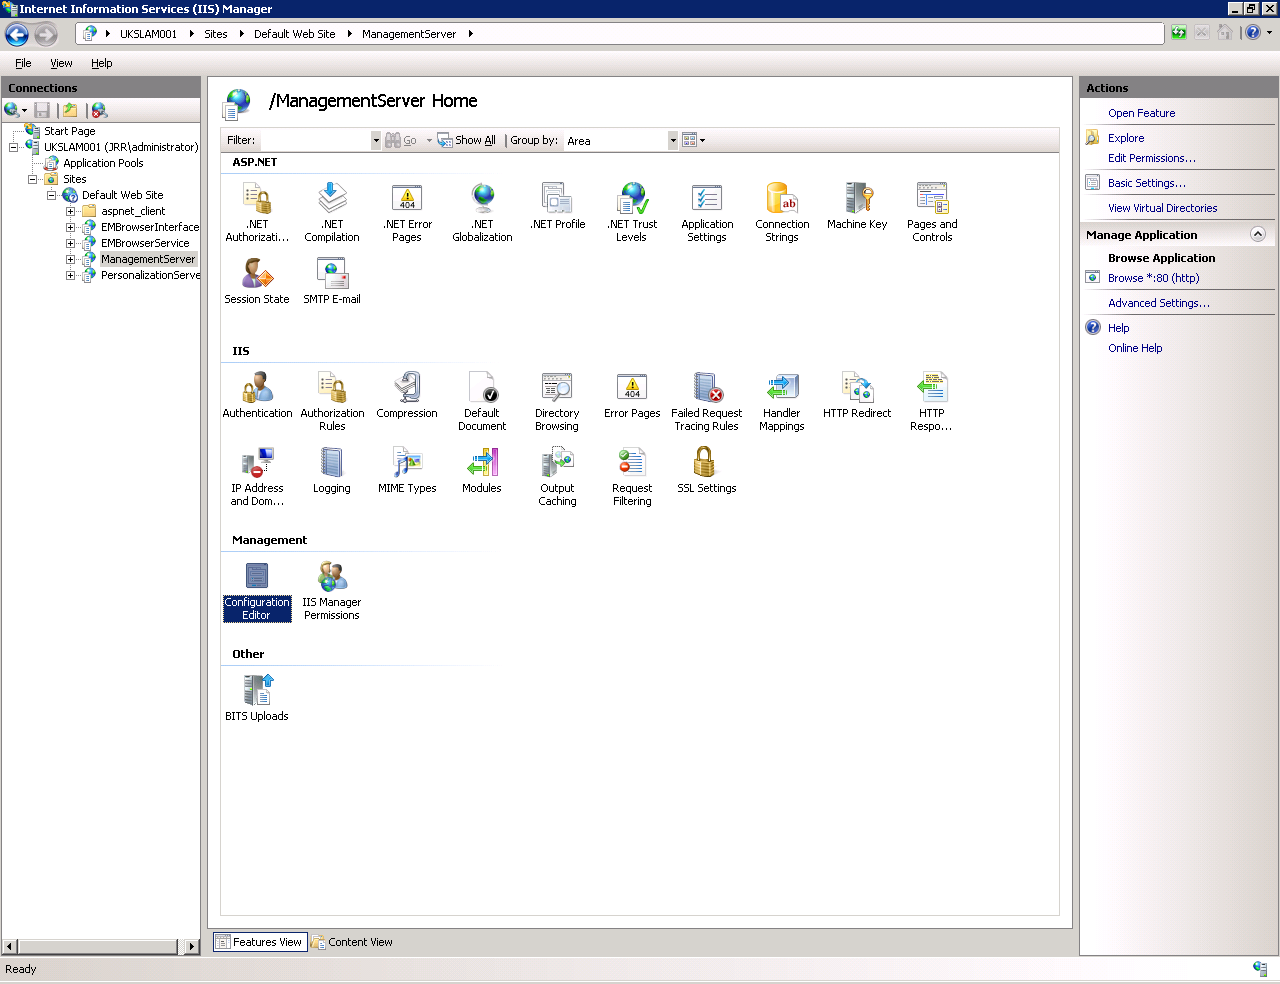
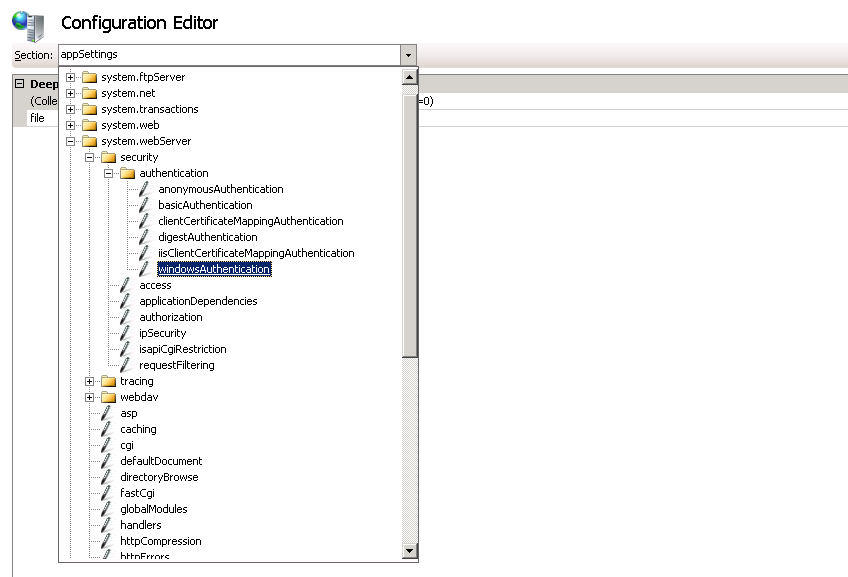
Under the Section drop-down box, select System.webServer | Security | Authentication | windowsAuthentication
Change the useAppPoolCredentials setting to True
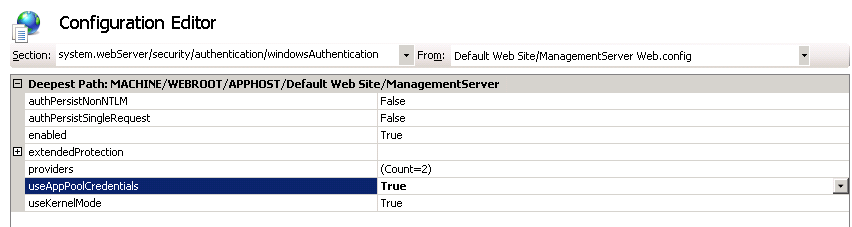
Click Apply in the top right of the IIS Management window to save the changes made. Repeat this for each website that will be accessed through the NetScaler.
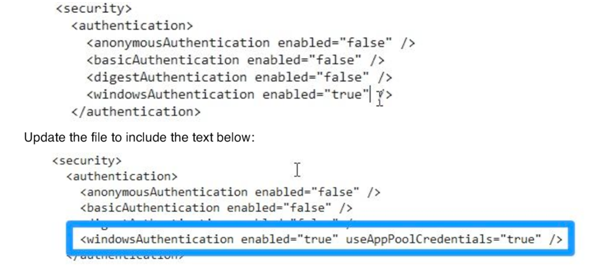
Occasionally you may need to go a step further with this bit and manually edit the web.config files in
C:\program files\appsense\environment manager\personalization server\web.config
C:\program files\appsense\management center\server\Web Site\web.config
Within each file locate the security section:
Add the following Registry keys, modified as appropriate for your environment, where
server1.jrr.test.local = name of primary server (Management or Personalization, or dual-role)
10.100.1.11 = IP address of primary server
server2.jrr.test.local = name of secondary server (Management or Personalization, or dual-role)
10.100.1.12 = IP address of secondary server
virtual.jrr.test.local = load balancer name
10.100.1.10 = IP address of load balancer
Add a REG_MULTI_SZ value called BackConnectionHostNames to HKLM\System\CurrentControlSet\Control\LSA\MSV1_0 with the following values on your primary server
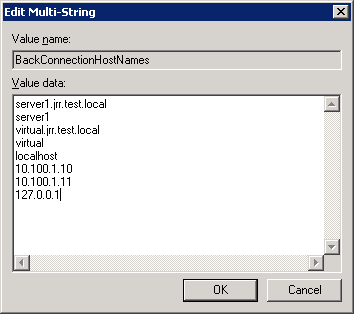
Add the same value to the same key on your secondary server with the following values

It is about now you should recycle all the IIS services using iisreset – however I find it is usually better, if possible, to do a full restart of all the Management/Personalization Servers at this point.
And finally, on the Management Server side (if separate), run this command
sc sdset “AppSense Deployment Service” D:(A;;LCLO;;;<SID>)(A;;CCLCSWRPWPDTLOCRRC;;;SY)(A;;CCDCLCSWRPWPDTLOCRSDRCWDWO;;;BA)(A;;CCLCSWLOCRRC;;;IU)(A;;CCLCSWLOCRRC;;;SU)S:(AU;FA;CCDCLCSWRPWPDTLOCRSDRCWDWO;;;WD)
where <SID> is the SID of your required service account
Verification
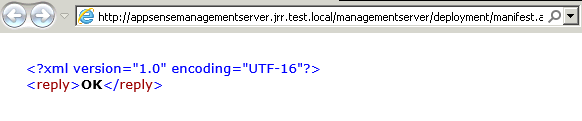
You should be able to verify your Management Server is working OK through the NetScaler by browsing to the following web address
http://AppSenseManagementServer.jrr.test.local/managementserver/deployment/manifest.aspx
which should show you a screen like this
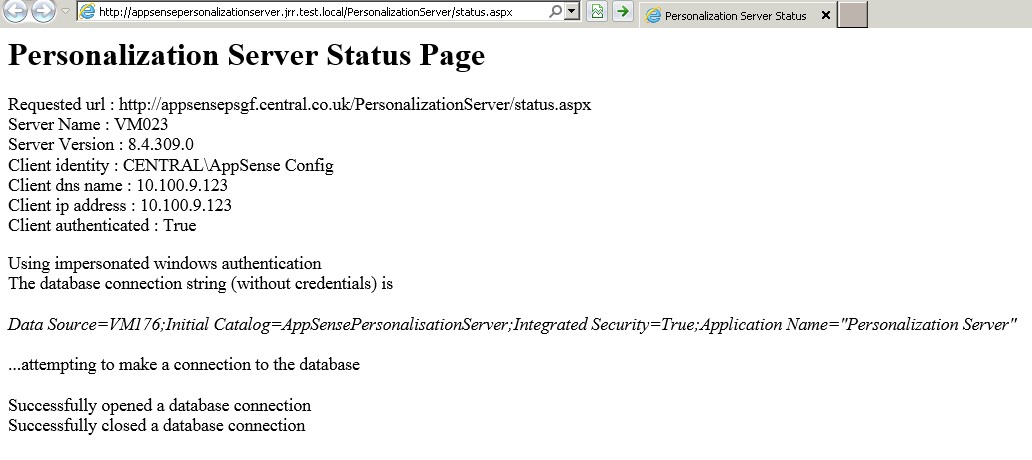
the equivalent test address for Personalization Server is normally
http://AppSensePersonalizationServer.jrr.test.local/PersonalizationServer/status.aspx
which would show you a screen like this
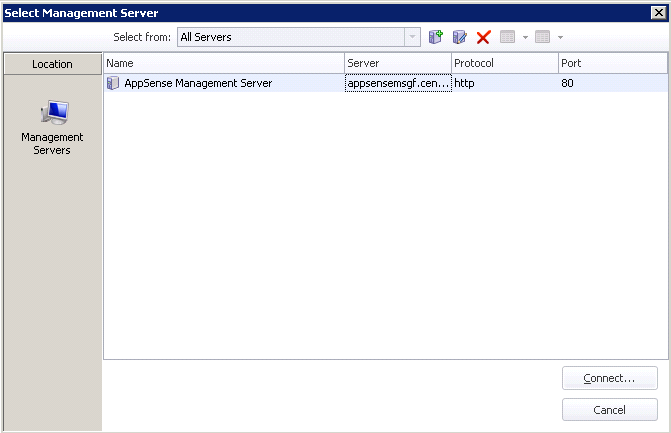
Of course, the real test is to open the Management Server Console or the AppSense Environment Manager Console and try and connect to the Management Server or Personalization Server using the NetScaler DNS address for the relevant service and see if it works OK.
If you can connect to the NetScaler DNS address and the required consoles all work OK – congratulations, you should have correctly set up your NetScaler to work with AppSense!
If you’re still having issues at this point, sometimes it can help to run the AppSense Management Server Configuration Tool or the equivalent tool for Personalization Server and/or the EM Browser Interface – these tools can fix things that may have gone wrong during the process, such as incorrect IIS permissions or the like.
Also, don’t forget you may need to add the sites to Local Intranet in Internet Explorer settings to get the status pages to avoid the logon prompt.
Obviously, from here it might pay to do some further testing, such as shutting down various servers and services and running load tests, in order to ensure that the load balancing and failover is working precisely as you require. Hopefully, though, this set of points should allow you to get it up and running with significantly less pain than normal!
Credits
I put this post together because I had to do a bit of Google-searching and document reference to get my NetScaler implementation working and thought I’d pull a guide together from that experience…however one of the documents that I actually asked if I could use a screenshot from (and was given permission) turned out to actually be a bit of a cut and paste job from a document written by Richard Thompson of AppSense, rather embarrassingly, especially when Richard occasionally takes the time to read this blog :-0
Actually Richard wrote a very good article on the subject which is available on the Best Practice Library on MyAppSense.com, which to be fair, if I’d known about at the time, I probably wouldn’t have bothered writing this post.
Anyway, this guide was cobbled together from the aforementioned Best Practice document by Richard, an existing AppSense TechNote dealing with the NetScaler config part (which I did credit in my original piece on NetScalers but then totally forgot to replicate in this newer version), and some help from the AppSense support guys who pointed out details such as the IE security zones.
Hope that keeps things right.

